February 17, 2009 in Personal
I have a love/hate relationship with my mending pile. It’s a great feeling clearing that pile, leaves my sewing room looking less junky, knowing I saved some money (I’m, shall we say, frugal about some things). BUT, I always procrastinate about doing the mending – I don’t know what the problem is, but some things can sit there in the mending pile for YEARS! I had a pair of pants Elliot ripped the knee out of, and by the time I fixed them, they were already too small for his younger brother Alex! (They are now Nathan’s pants…)
I just read an article about how some Shoe Repair shops are thriving in our slumping economy. I’ve done some jobs for people mending clothes, and I’m thinking I might get a few more now! But in case you are a do-it-yourselfer, I am writing this post about How-To Repair a Tear. When I worked at Royce Sewing Center and got schooled on all manner of sewing skills, one of my jobs was to teach customers how to use their new machines, and Mending was one of the demonstration stitches.
These jeans have been in the pile for a long time. When I gave them back to Trip, he had no recollection of them. But at one point he wore them so much that the butt had worn completely through, leaving two big tears.
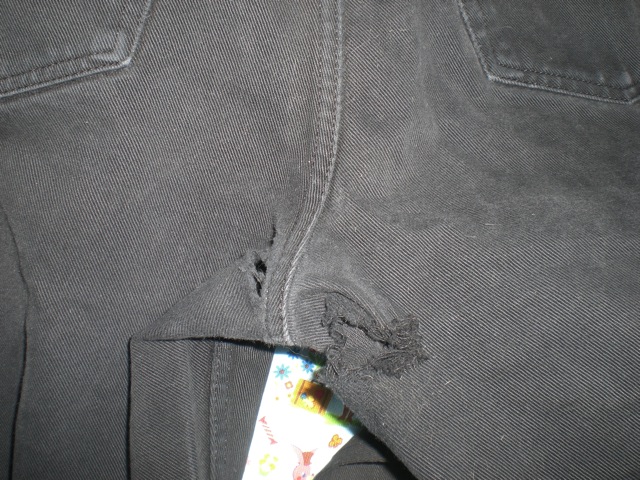
Here’s what to do:
Find a material that coordinates with the one you are fixing. I always have an old pair of jeans saved for this purpose. I happened to have some black canvas in my stash for repairing these black jeans. (more on this below…)
Turn the jeans so you can place your patch over the holes on the inside of the jeans. I doubled the canvas for extra strength, because besides the ripped parts, the fabric around them is weak from wear. Pull your torn fabric so that the grain line is as straight as you can make it. (You might want to press it flat if your fabric is very frayed. Pin the patch in place and stitch once around the perimeter to hold it.
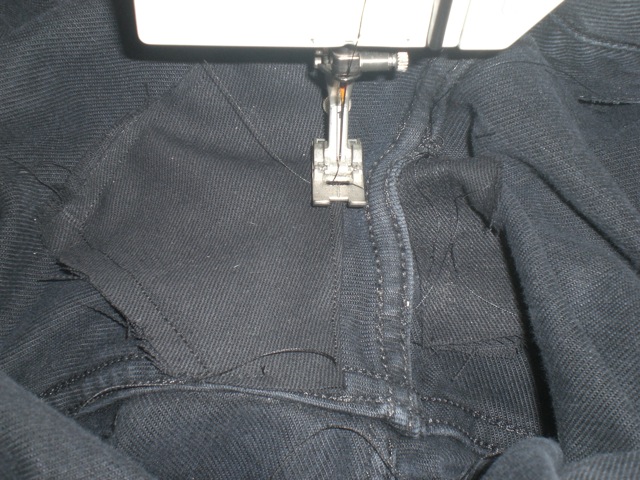
You might want to use some kind of iron-on interfacing, or stitch witchery to help hold the patch in place and give the patch extra strength, but make sure it won’t show on the outside. Then turn the jeans to stitch from the outside.
Place your presser foot just above and to the left of the left edge of the tear. In order to make the repair less noticeable, make your stitches follow the lines of the denim. Then make a straight stitch down just a little past the tear, move your needle 1/16th of an inch to the right, then make a straight stitch in reverse, stopping near wear you started stitching, but not on the exact same spot, continue moving the needle 1/16th to the right each time you change directions, and do this until you have completely covered the torn area.
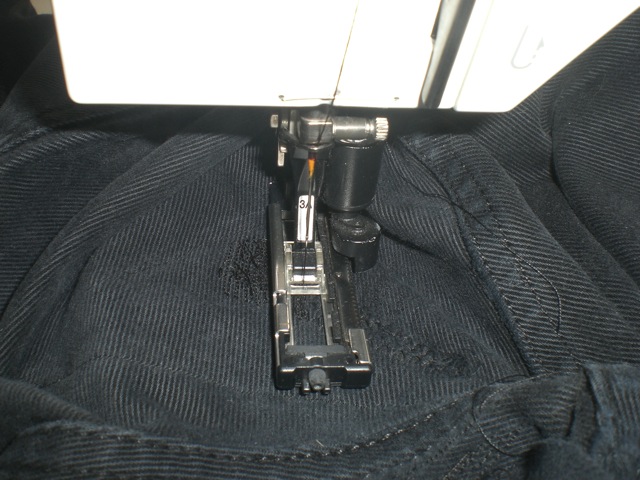
My sewing machine: Bernina 1530 (love, love, LOVE this machine!) has a computer and a special “mending foot”. When you select the mending stitch and use the laser eye mending foot, it stitches a knot in place, then stitches forward until you press the reverse button, moves right a milimeter, stitches back to the start, moves right a milimeter, stitches back to the end point, until it has covered a patch 10 mm wide with stitches (staggering the edges so they don’t show), then stitches a knot in place. (I tried filming this for the blog, but it’s too boring to watch.) My machine memorizes that selection so you can do that same stitch over and over until the hole is covered, but you can do it very easily by hand as well.
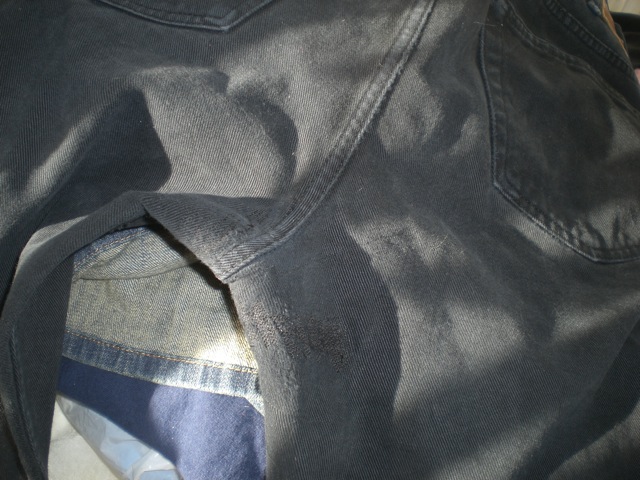
The result?
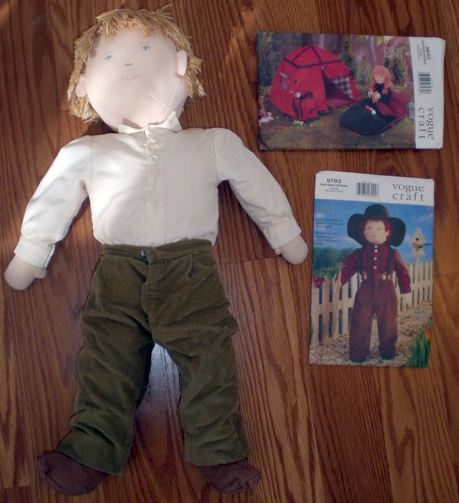
(Fabric Stash Backstory: I bought the black canvas above with the intent of making a sleeping bag and camping set for the anatomically correct boy doll I sewed for Elliot when he was one year old. (Go ahead and laugh.) He never took to the doll, who now sits on a shelf with other retired stuffed animals. Naturally, I still have the patterns for said project…)

One Comment

Love your blog. Can you tell me what foot number that mending foot is? It looks like a 3, but then the second number is obscured by the thread in the pic. thanks