April 21, 2008 in Personal, Sewing/Crafts
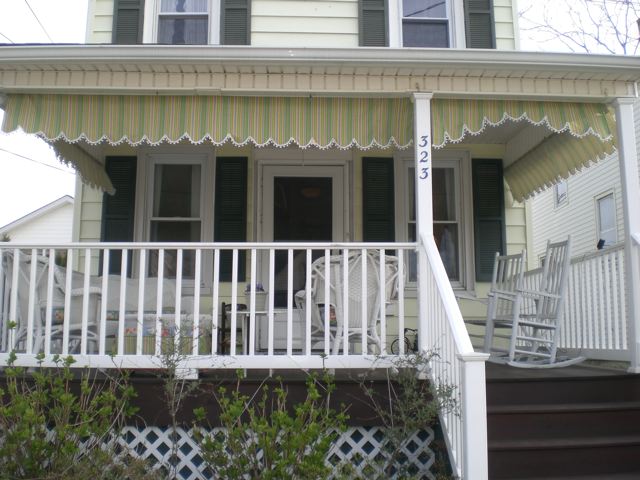
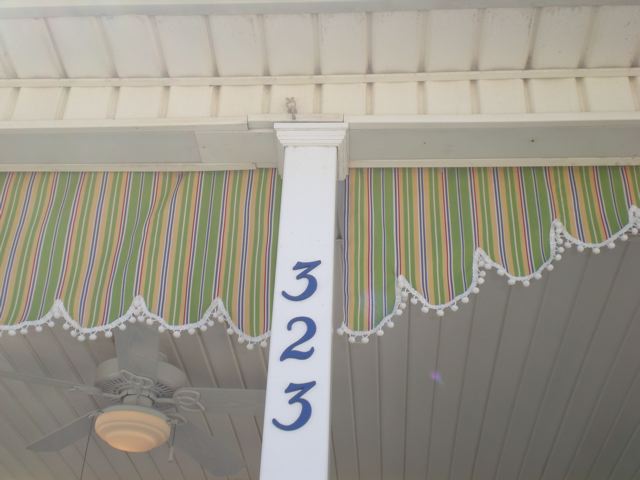
This is my second time making awning curtains. I came up with a really cheap way to hang them, and just walked down the street to look at some awnings my neighbors had hanging up. When I made the original set a few years ago, I used outdoor canvas, which is quite stiff and weather resistant. I edged them with nylon webbing, which was like a thick woven ribbon. I wrapped it around the raw scalloped edges like bias tape. I bought the fabric at JoAnn Fabrics last year (and didn’t make them until this year out of procrastination). I don’t recall noticing that the fabric I chose for this set of awnings was outdoor fabric, but not quite the same heavy canvas that I used last time. I’m hoping they hold up nicely. This time around I chose to finish the edges with ball fringe, which I had seen on a house in Ocean Grove a few years ago, and it weathered very well. In the future I may add some white curtains to give us even more privacy on the side of the porch. (We get a lot of foot traffic in the summer down our street). Here’s what I did:
I measured my porch to find out the area I needed to cover. My “curtain rod” is a length white plastic PVC pipe, held in place with C-clamps. I don’t remember exactly what I paid, but just now online I found a 20 foot length of the PVC Pipe for $16.00! The C-Clamps were also super cheap. The fabric for all of the project (including coordinating fabric to re-cover my porch furniture cushions) cost $60.63 from JoAnn Fabrics – though you might do better using a coupon and shopping carefully.
I divided the separate distances by the width of the fabric, so I knew how many total lengths I would need. Last time I used 15 inches as my hanging length, but this year I added 3 inches for a little more privacy, bringing it to 18″. For each section I added 2 inches for the rod pocket.
I cut all of the awning fabric into the 20″ lengths. I was lucky that the east and west sides of my porch needed exactly the amount made when I stitched two lengths together and turned under a small hem on the side – I even left the selvage on one side! I finished the joined edge by cutting one side of the raw seam edges, turning the other raw seam edge under to encase the other cut edge, pressing it and then stitching it flat. This keeps the curtain rod from getting caught on the seam while pushing through the rod, and also makes the back side of the awning look neat.
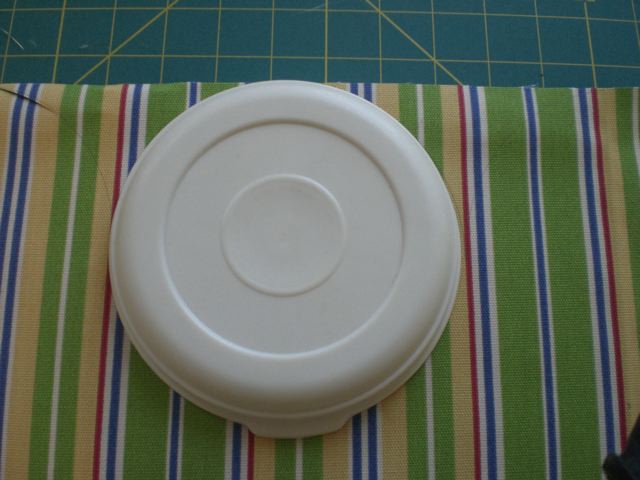
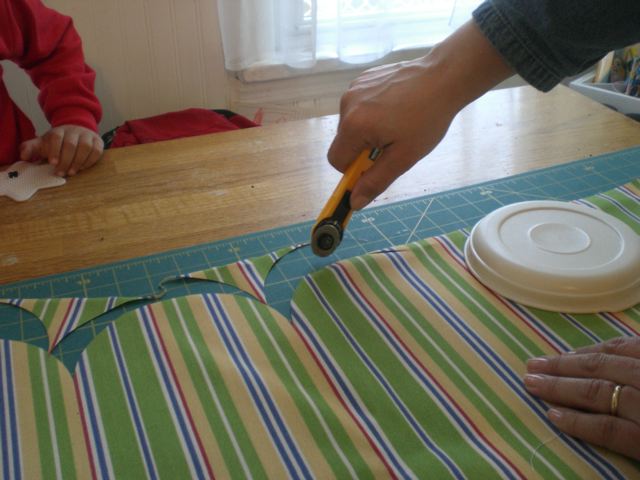
After stitching the sides of the panels together, I hemmed the edges. It doesn’t matter if you finish the top or bottom of the curtain first, but my next step was cutting the scallops. I used a the lid from a plastic Rubbermaid food storage container. I lined it up on the red stripes and the edge of my fabric, traced it with a pencil, and used a small rotary cutter on a cutting mat to cut them out.To finish the raw edge of the scallops, I placed the curtain right side up at my sewing machine, turned up a 1/4 inch of the raw edge, covered it with the ball fringe trim, and did a zig-zag stitch over the top of the trim edge.
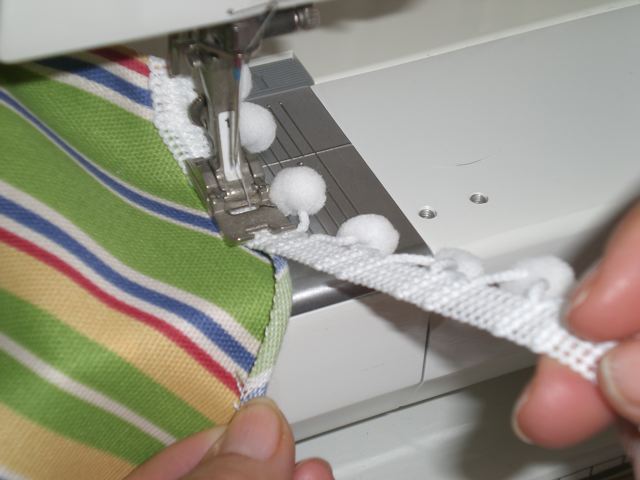
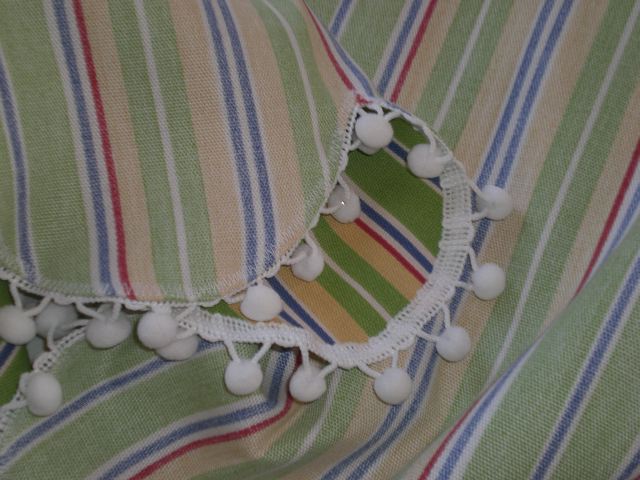
This was so much easier than my old method of wrapping the edge with nylon webbing. The raw edge is covered with trim and stitched down securely. The back side is clean looking, and it was easy to guide the flexible trim around the curves as I sewed. I don’t know how I managed to guess so well, but I wound up with just over a foot of ball trim left over.
Next, I made the rod pocket. I turned under the two inches and pressed it. I recommend turning under just a hair more than 2 inches for the small amount of fabric lost on the turn, because you don’t want the rod pocket too tight. This is very easy to do with a clear plastic ruler. Then I pressed 1/4 inch of the raw edge under so it would be easy to stitch it later.
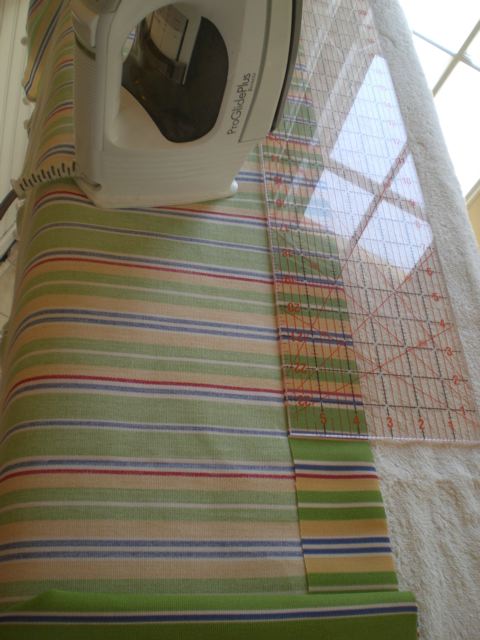
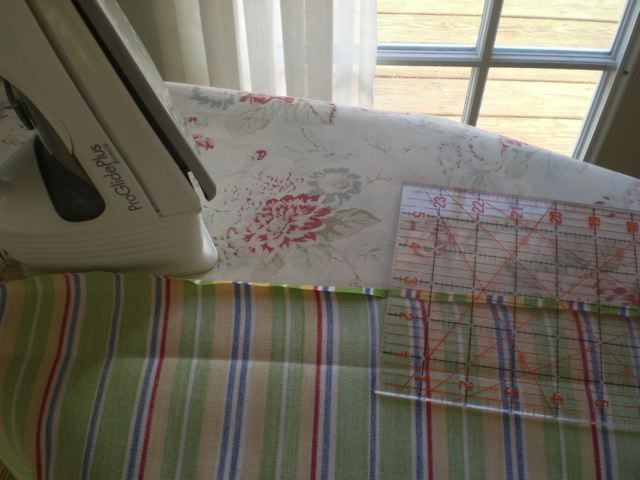
I don’t bother pinning (lazy), I just stitched down my rod pocket close to the edge of the turned under raw edge.
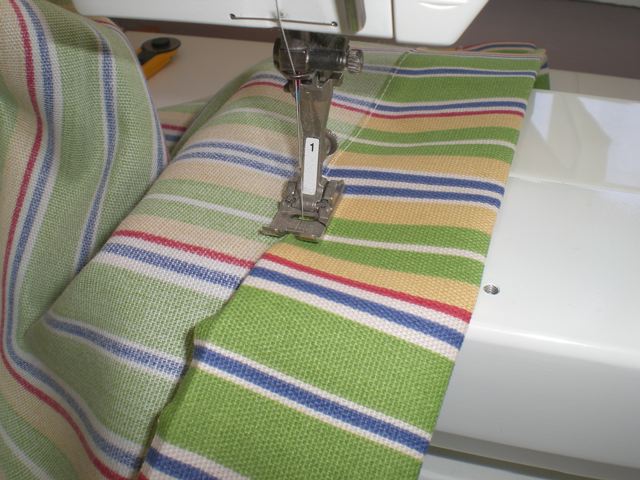
Next I put my curtain on the rod, and held it up to the C-Clamps which are still in place on my porch from the last time. You’ll need one on each end and one in the center if the rod is long enough to dip from the weight of the curtain. I marked a line on the bottom of my hem to feed the C-Clamp through. Last time I just cut a line there and left it raw, and it lasted just fine for 2 years before the curtain was just too dirty to keep. This time, I sewed a corded buttonhole to make it look more finished, and give it extra strength, especially since this fabric is so light weight.
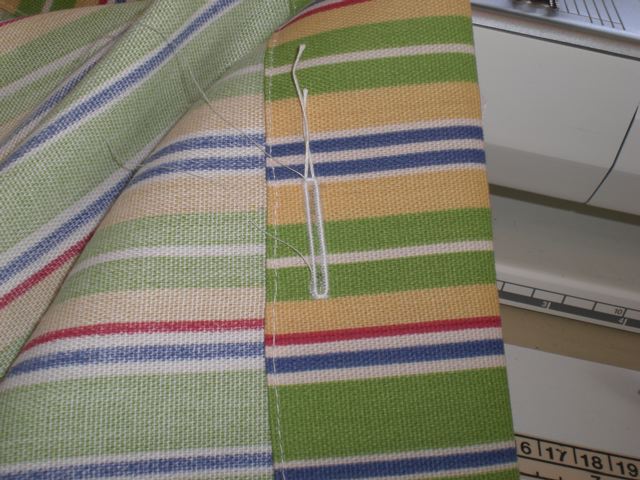
The last step was installation. It was a little cumbersome by myself, but can be managed. I drilled holes for the C-Clamps during my first installation, and I left them there (can’t get lost!). I simply unscrewed the top screw on the left most clamp, then (while holding the curtain up with my right hand), slid the clamp through the buttonhole, and screwed it back down. Then I worked my way to the right.
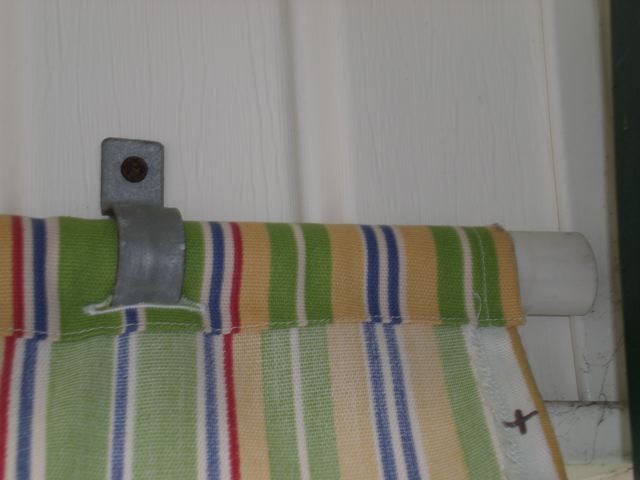
Here is a more close-up shot:
The next day, I made the new covers for my porch furniture cushions. I’m proud to say I picked the ottoman and the couch cushions out of the trash, going so far as to climb into a dumpster for the cushions, and only bringing them home after sniffing them very well!
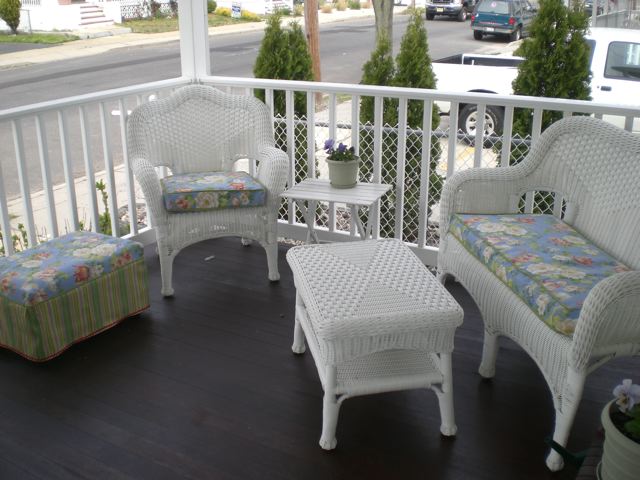
I am not planning a tutorial for these, but they were quite simple. I just measured the size of the current covers, added a half inch for the seam allowance and cut my fabric. I made cording out of a cotton cord covered with a straight 1.5″ strip of fabric (not bias). I made the cording while stitching it down to the top and bottom sides of the cushions (using my zipper foot) with a 1/2 inch seam. Due to my laziness – I don’t want to take a separate step and make the cording first, so I just took it slow while I stitched and kept pulling and holding the fabric into place as I worked. Then I stitched the side piece around the cushion, stitching it to the top and bottom with that same zipper foot and 1/2 inch seam. (You’ll need to make a perpendicular snip almost up to the seam when you turn the corners of for both the side piece and the cording in order to let it turn the corner nicely.) This wrapped up what’s been a 3 week spring cleaning, and future house listing preparation.
- I cleaned and re-waterproofed and stained my back deck.
- I power washed my front porch (when the water company finally finished replacing the main on my street, breaking my water service, then repairing it by replacing my old galvanized pipe with a new copper pipe). Several annoyed phone calls, 30 muddy boot prints and a dust cloud later, my porch was filthy, but my shower water pressure is fabulous now!
- I re-sealed my mahogany porch deck with Australian Timber Oil. 1/3 of the way through, the broom handle on my roller snapped, forcing me to work bent over the porch. I also underestimated the amount of sealant I’d need, cheaply frugally buying the smaller sized can, and emptied the can with the front of the porch and steps still unfinished. This had me going back over the areas I applied first, wiping off the excess as instructed, but I wiped it back onto the sponge roller and applied it to the rest of the porch so I could squeeze out those last few yards of coverage. I’m glad none of my neighbors were around to see me hopping around in a crouch like some kind of fume-woozy frog doing “wax on, wax off”!
It’s all lovely now, just in time for my youngest son’s 5th birthday party this weekend! Now if I can only schedule some nice porch sitting weather for Sunday…


Leave a Reply